Atherna

Render by LogolicusZ
Introduction
I never thought that there would be a day where I would be creating my own keyboard. I joined this wonderful hobby around 5 years ago, and I am more invested in it than ever before.
My start into this hobby was when my first keyboard broke, and because of the warranty, we got the money back for it. It took me over a year to find the next keyboard I wanted.
Thanks to Taeha Types, I discovered the mechanical keyboard hobby. I was searching for a new keyboard on YouTube when his videos got recommended to me, and I was immediately hooked. If I have to describe what I was feeling when I found the mechanical keyboard hobby, I think I would have to say it was pure excitement. I love to tinker with a lot of stuff, the same reason I got into tech and computers.
Another great side of the hobby is that it allows smaller designers to run their boards and bloom, with some becoming the hobby's most beloved keyboards.
Now many years later, I am older and have picked up many other interests along the way, like designing. I myself have wanted to design my own board for the longest time; I just did not have the confidence in myself to start since I often fear that I would do it incorrectly.
How Atherna was created
To clarify, Atherna is based on an open-source design by Hali4045. I chose this option because I don't fully trust my measurement skills, and my initial attempts at designing from scratch were not successful.
I began by researching the tools commonly used by keyboard designers. Fusion 360 is typically used for designing the board, while Blender is the most popular tool for rendering due to its wide range of resources.
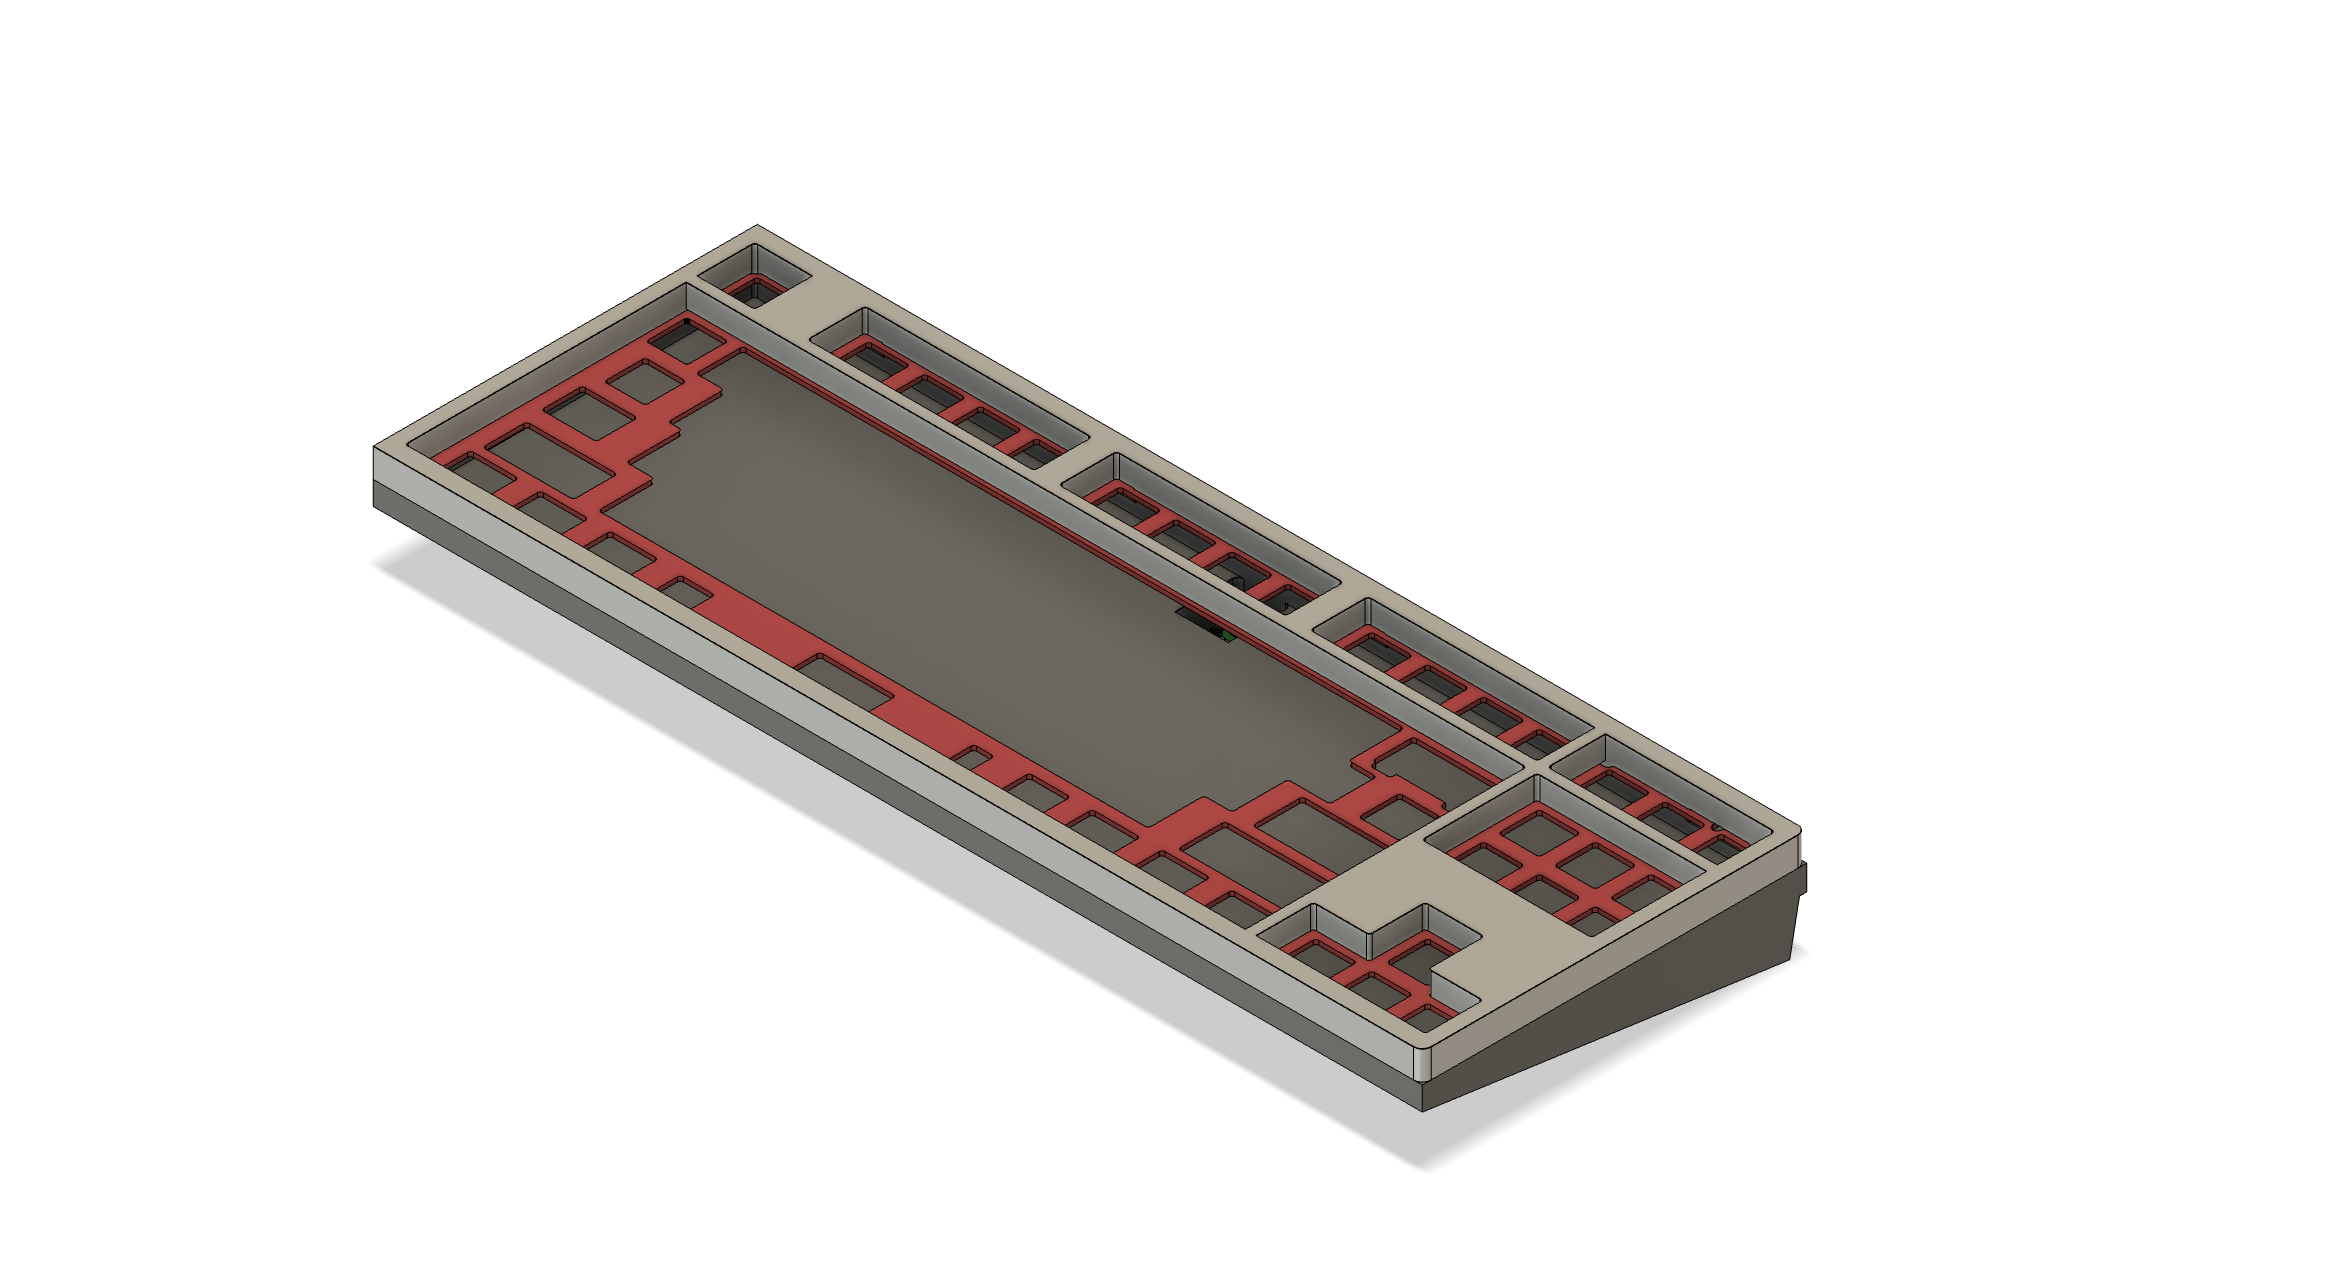
I started designing a basic F12 TKL, which was my first time using CAD software. I had difficulty picking up the tool because of its many options. However, after watching some of Hali's YouTube tutorials, I was able to create my first TKL, which is my favorite layout. I began with the classic top-mount style, as it is simple to learn.

Image by LogolicusZ
During this process, I realized that I might not have enough knowledge to create a design that I would be fully satisfied with. At the same time, I was rebranding and exploring a Rubber Hose style for my logo.
I am currently studying to become a system administrator and am surrounded by tech-savvy individuals. One of them is a fan of open-source projects, we have worked together on many projects one of them being Explorecraft. This led me to explore open-source keyboard designs, and I was particularly impressed by the work of Shy and Hali. I studied their designs and recreated some of them to learn how to create similar features.
A few months ago, I fell in love with the SBL by DNworks. I was drawn to its simple design and unique language. While researching open-source designs, I came across Hali's Keebmas 2022 collection. One of the keyboards, the Wedge, has a similar design to the SBL, but without the engravings and with a different mount.
I decided to use this design as the base for Atherna, while also deciding on some changes I wanted to make:
Changes:
- Add O-ring mount
- Move Top-mount points
- Add more layout compatibility
- Add Engraving reflecting a Rubber Hose style artwork
- Move USB-C port from bottom more to the middle
After setting a list of changes, I started working on the design. Some changes, like moving the mounting points on the plate, were easy and took little time. However, adding the O-ring mount was more challenging. It required attention to specific details, such as the posts' exact height and diameter. Since it was my first time, I had to ask for help frequently. Thank you, Shy, for being so helpful!
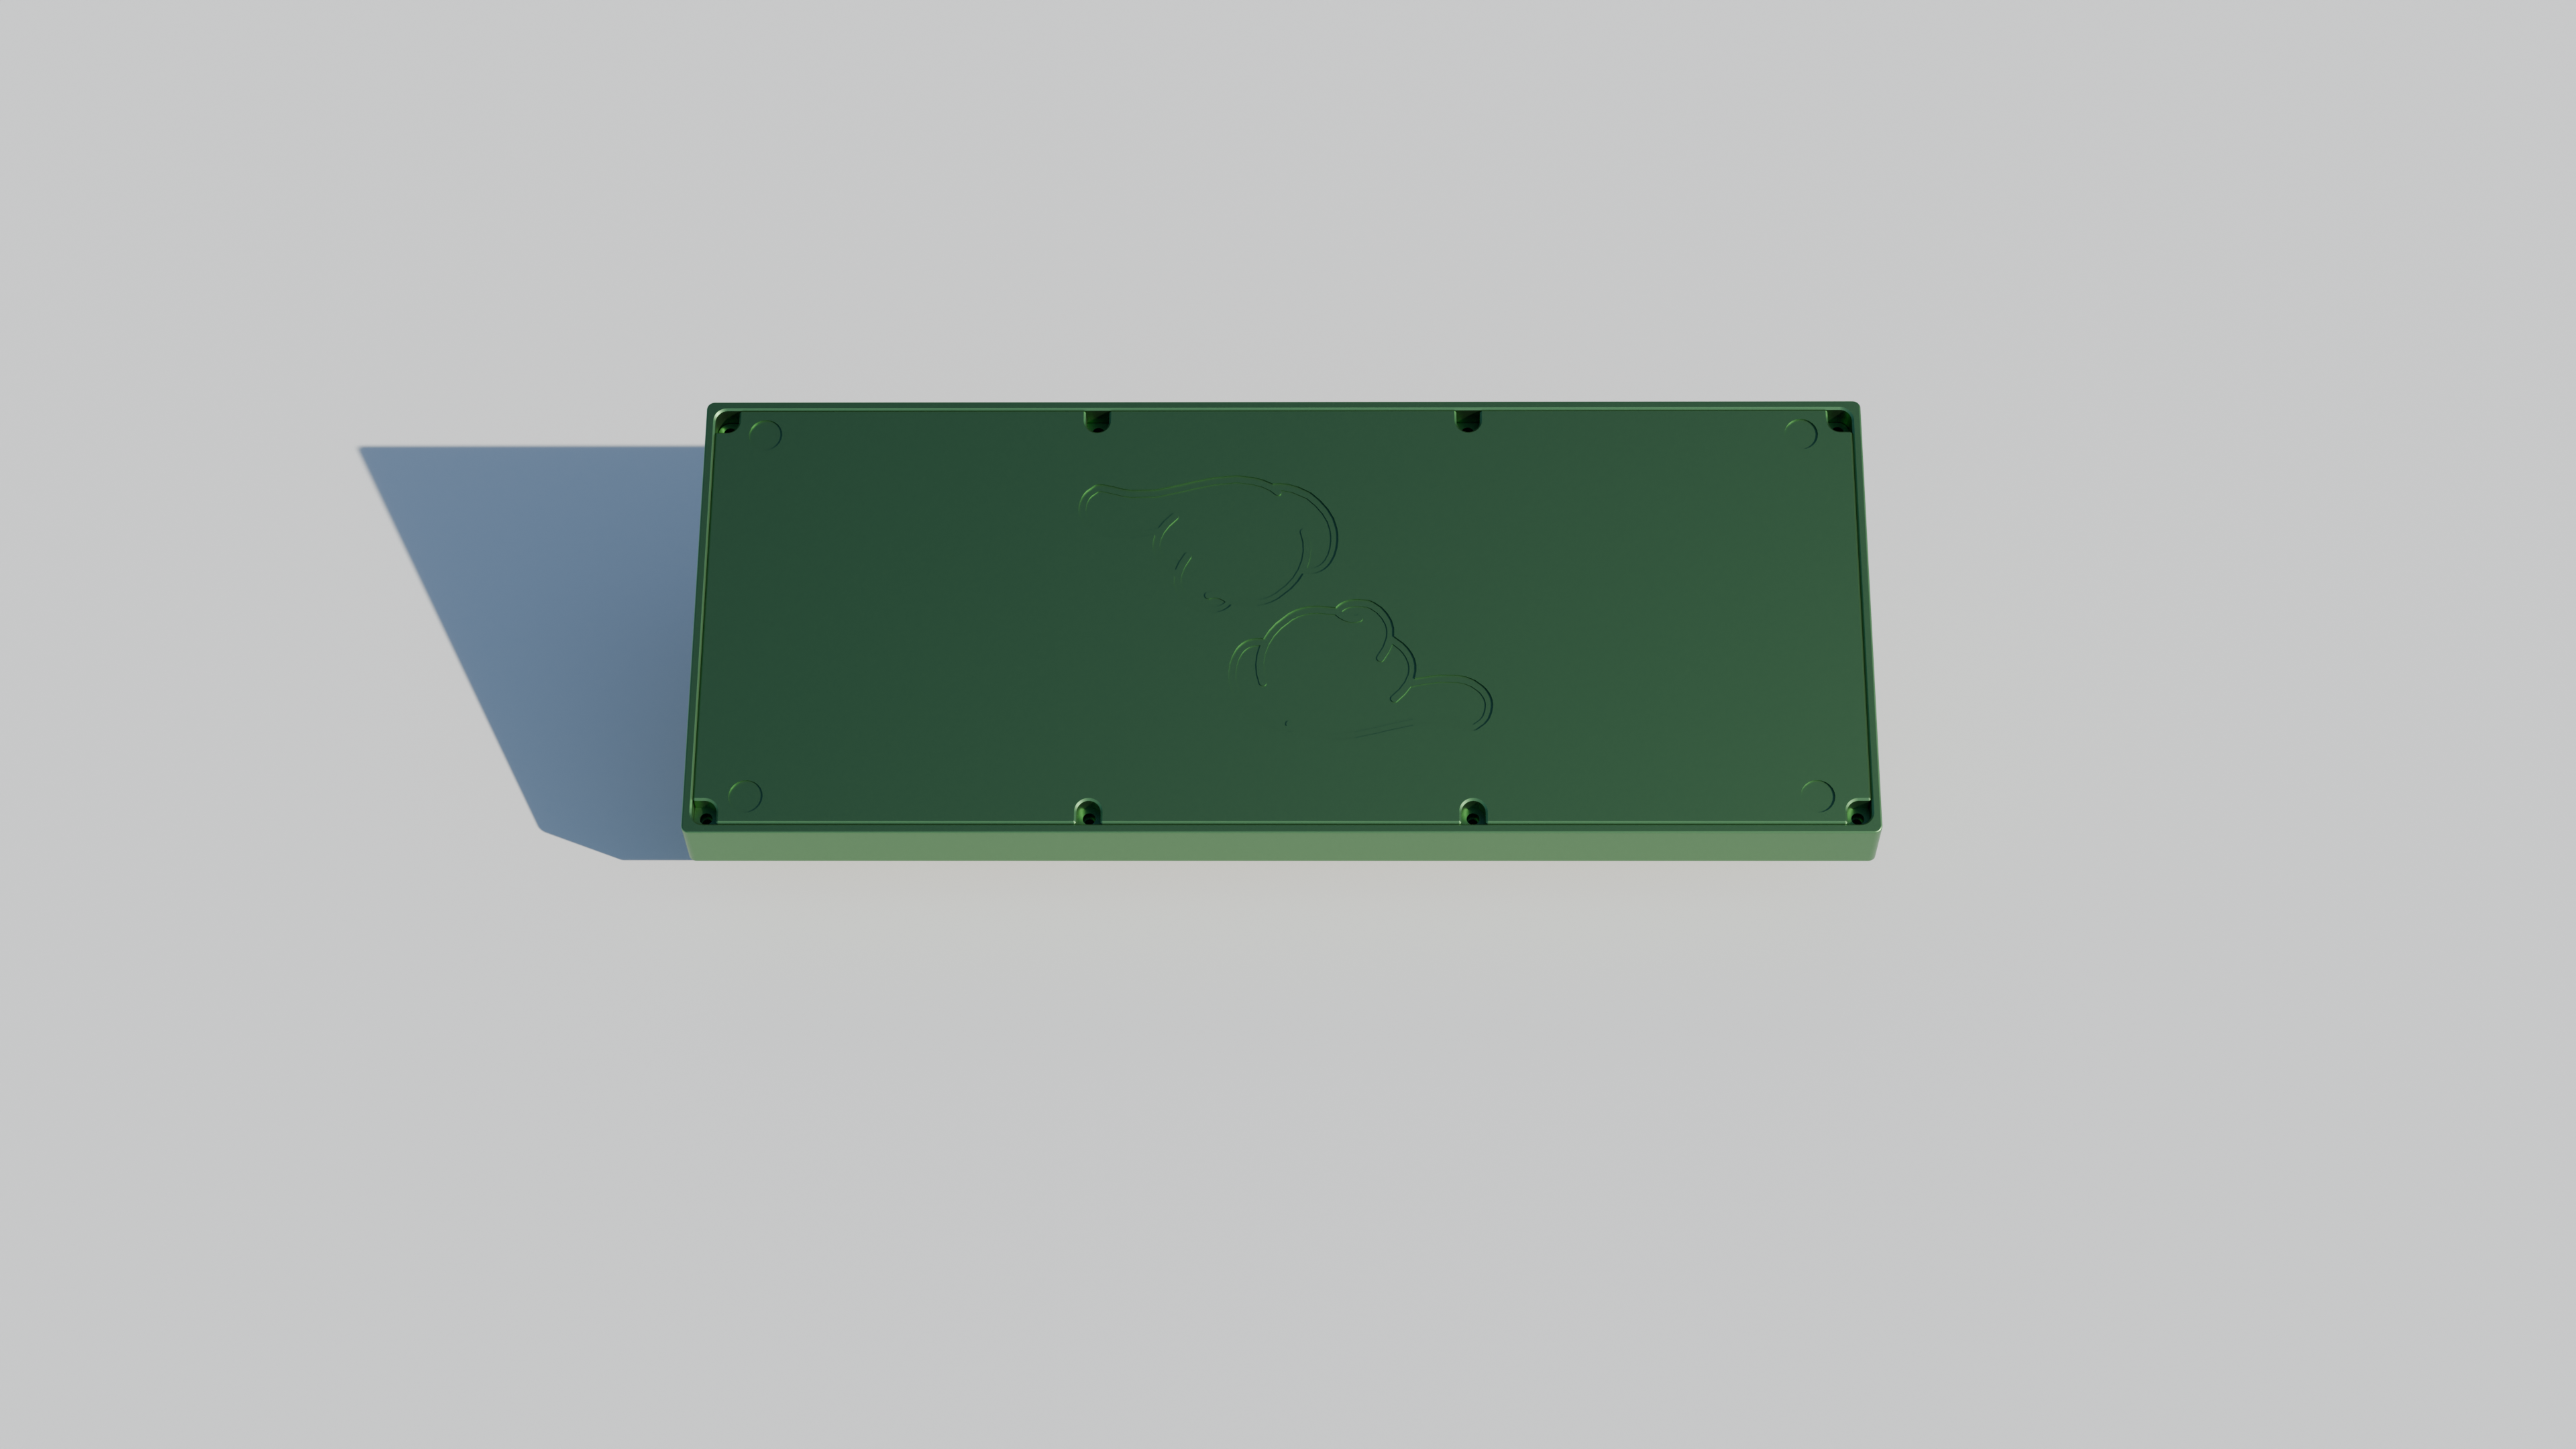
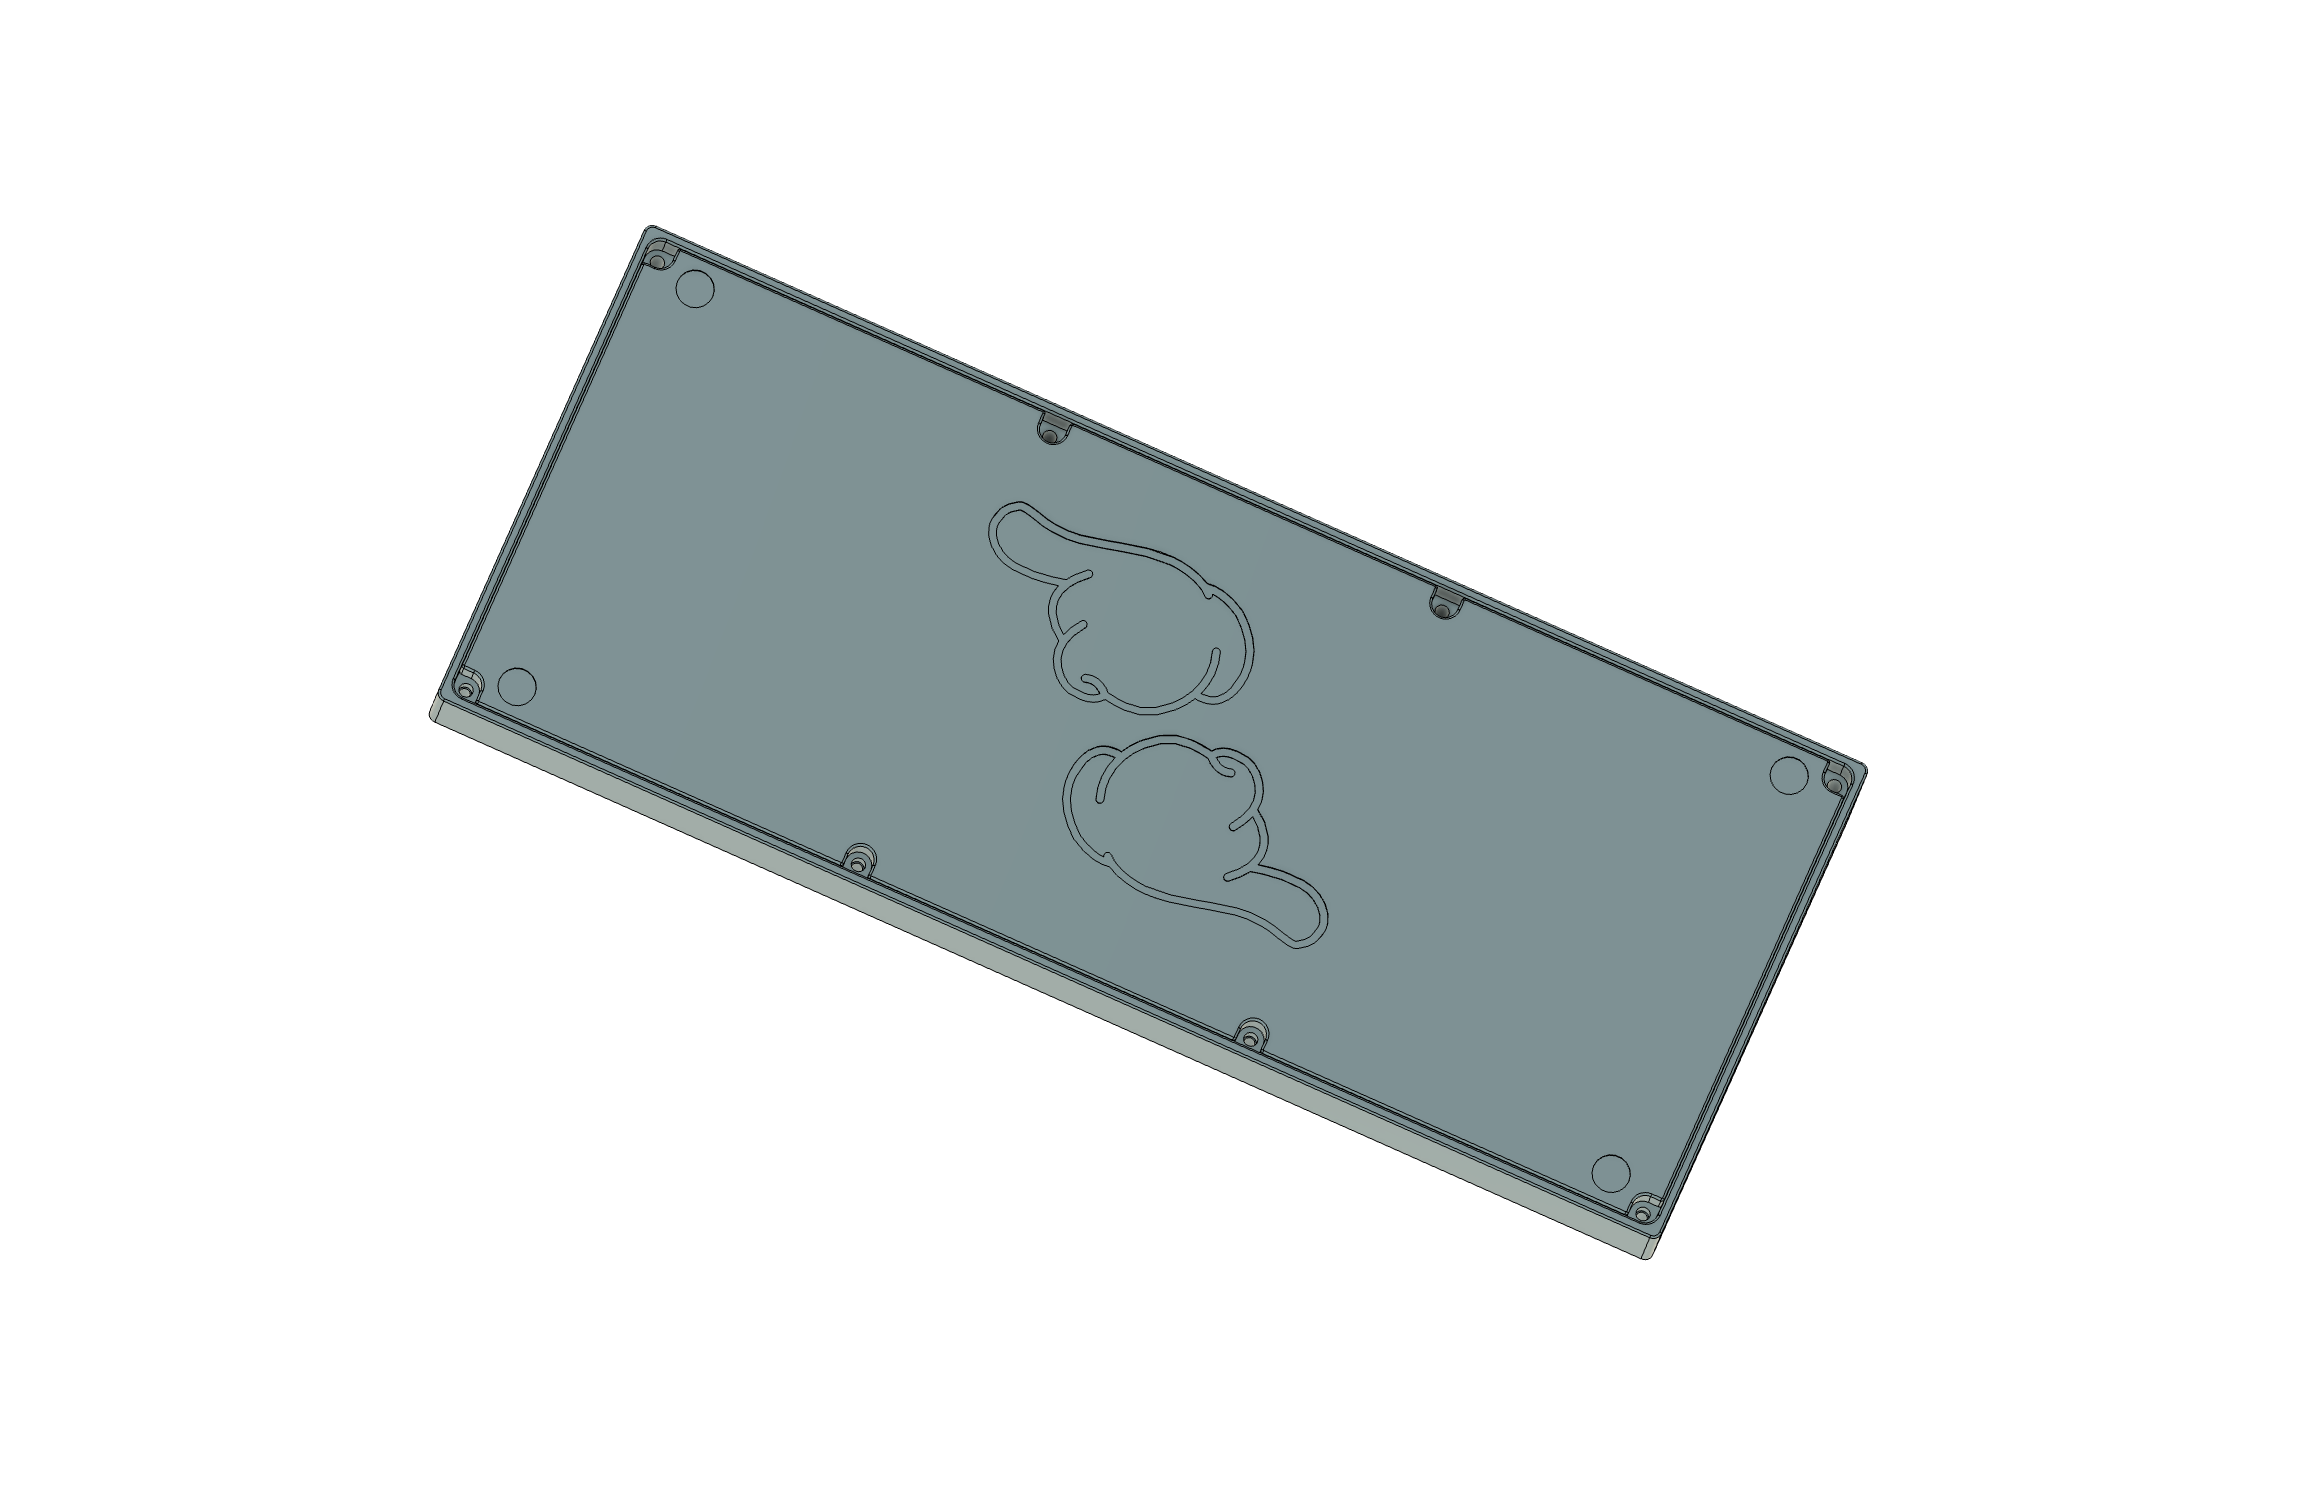
You might be wondering about the specific engraving on the bottom. It has two meanings. Firstly, the hands are from another project I worked on with a friend called "disky and friends." I reused the hand design from that project.

Image by LogolicusZ
Secondly, the hands form a "Z." This is a reference to my username, "logolicusZ," which I have had since childhood and wanted to incorporate subtly. Instead of just adding my name as a signature, I wanted to be more creative, so I chose to use the hands to form a "Z." It's not too obvious but can be noticed by those who know.

Image by LogolicusZ
Conclusion
This project has been a lot of fun for me, as it allows me to combine many of my interests. There are still a few things I would like to do, such as adding an engraving on the back. I'm currently working on the design, so stay tuned for that!
Aside from being enjoyable, this project has also been a great learning experience. I've learned many new things, such as how to create an O-ring mount.
If you're interested in following the project's progress, consider joining the Discord. This is where I'll post the most frequent updates. Alternatively, you can follow the rbrwrks Instagram for major updates and renders.
Once the engraving design is complete, I hope to order a prototype around August or September.
Thank you for reading this article. I hope you found it enjoyable and perhaps even inspiring you to start your own projects!
Links
rbrwrks Instagram
rbrwrks Discord